Brick Work
Making brickwork from foam core board.
I worked on a couple of different sized bricks and painted with a few different products
For these 'experiments' I just used some scrap foam board that was 5 mm thick, but 3 mm or 10 mm would work fine.
The first size bricks were 2cm by 1cm.


 For the larger brick I went with 3cm by 1 1/2cm

 Now the colours......
I first started with nail varnish and found this worked well


 Promaker is pretty good depending on the colour used.
For the red bricks I tried fabric paint. It's hard to get a smooth look but if your looking for a textured effect they work pretty well. Silver nail varnish was not bad and I added a glitter nail varnish to the top silver ones.
The black in the second row are nail varnish with a top coat in glitter.
Row three one coat of nail varnish.
Row four has two coats.
Bottom row I used fabric paint and again you get a textured look.

These bricks (apart from the two glitter nail varnish) are all done using gel pens again for most it looks OK if you are looking for that brushed look.

I can think of a few other methods that I will look into but for now I think the best look comes from nail varnish and maybe some gel pens. I think with the pens it's a bit try it and see?
Thank you, Marcia Ricksgers
I worked on a couple of different sized bricks and painted with a few different products
For these 'experiments' I just used some scrap foam board that was 5 mm thick, but 3 mm or 10 mm would work fine.
The first size bricks were 2cm by 1cm.

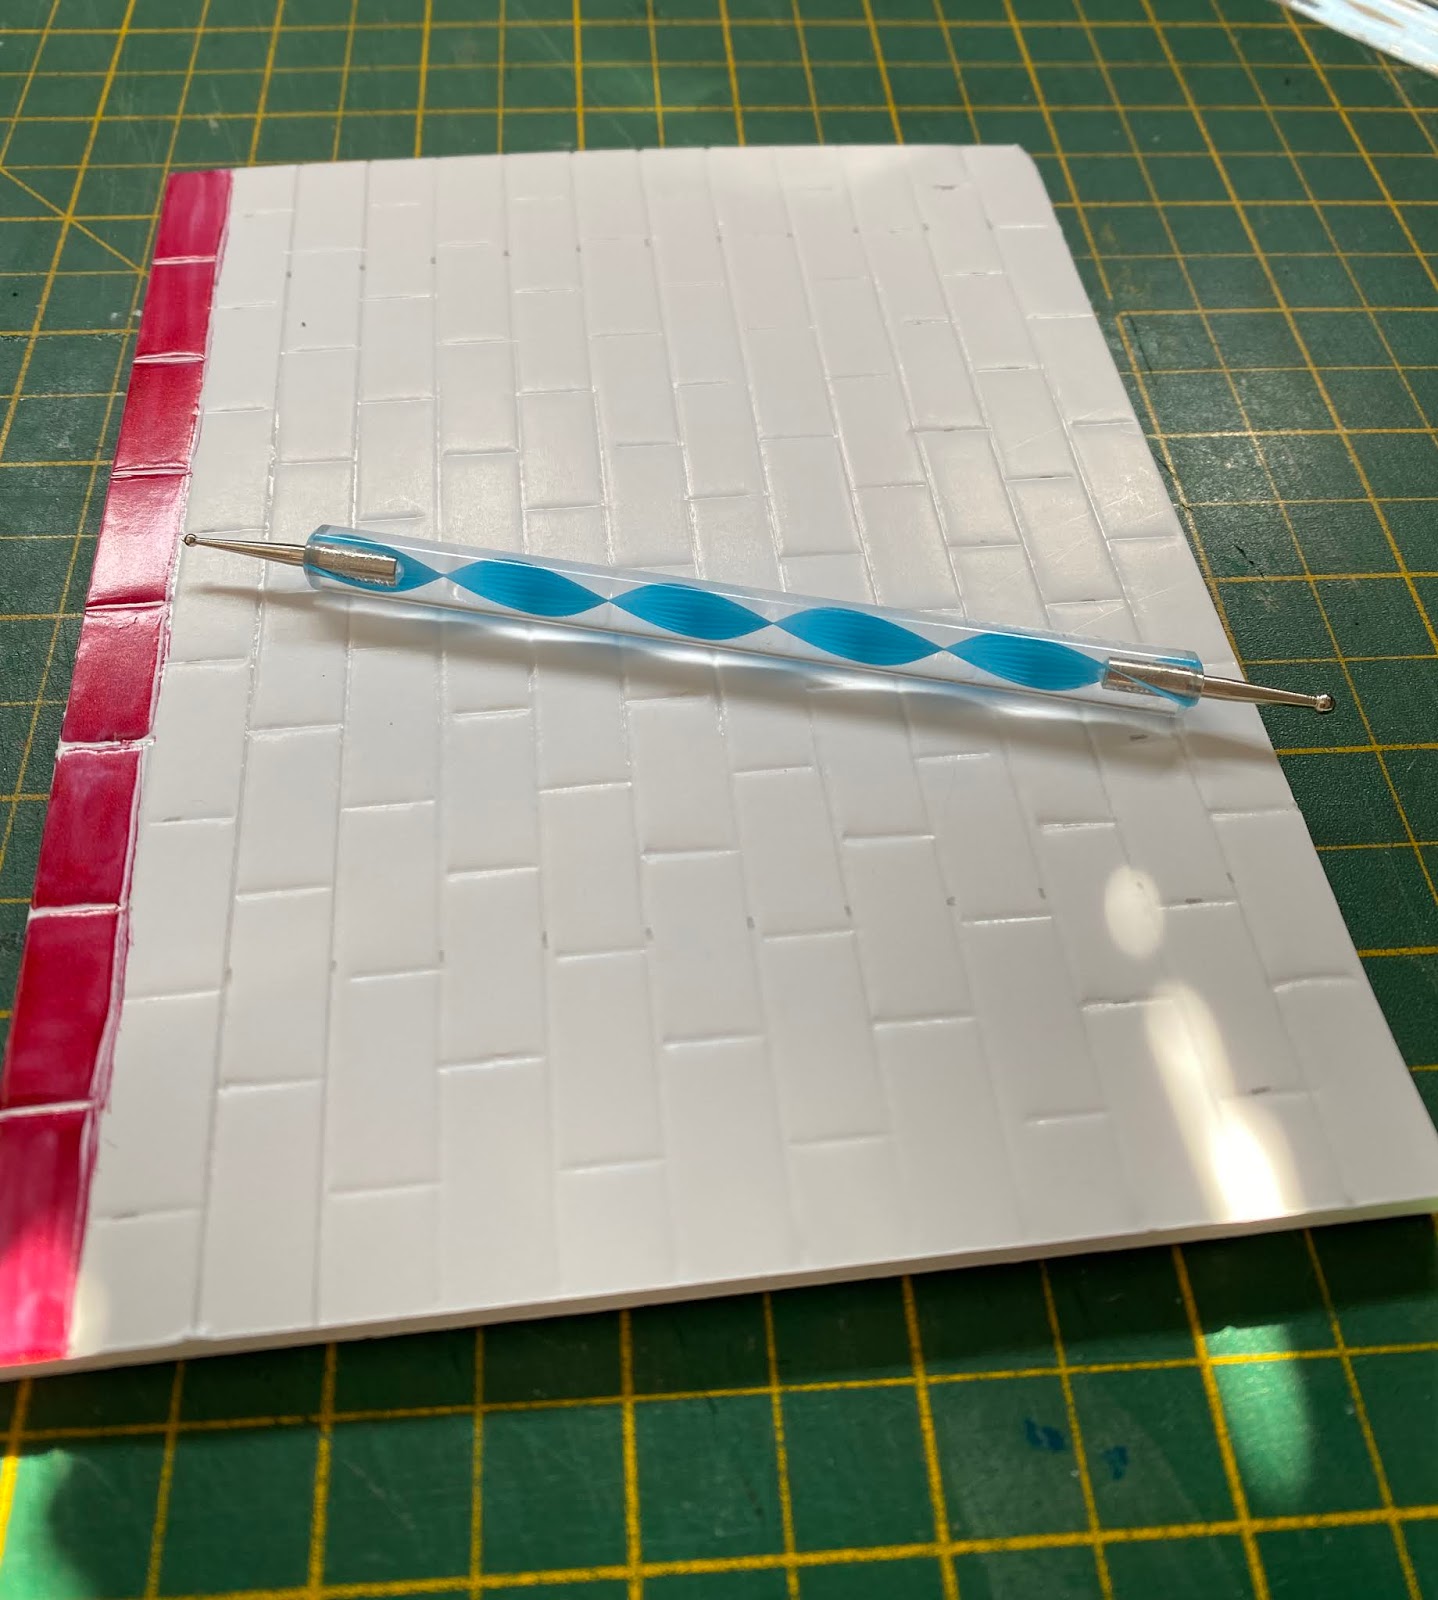
I marked off the size wanted with a pencil

Then used a ball needle to mark out the lines. Try not to press to hard as the paper is a little fragile but it's not the end of the world if you do go through as you can get around these things.


I first started with nail varnish and found this worked well

While trying to keep it neat I'm just not a neat person

I did find that while the varnish was went you could use the ball tool to re make the lines

Two coats give a better look but I would guess this would depend on the nail varnish used

Once the varnish was completely dried I used Gel pens to give a cleaner look. Also tried out coloured 'grout'

Then I looked at using other items. Paint is wet so not good of foam board. Below you can see some of the products I used and how they worked out.

For the red bricks I tried fabric paint. It's hard to get a smooth look but if your looking for a textured effect they work pretty well. Silver nail varnish was not bad and I added a glitter nail varnish to the top silver ones.
The black in the second row are nail varnish with a top coat in glitter.
Row three one coat of nail varnish.
Row four has two coats.
Bottom row I used fabric paint and again you get a textured look.

These bricks (apart from the two glitter nail varnish) are all done using gel pens again for most it looks OK if you are looking for that brushed look.

I can think of a few other methods that I will look into but for now I think the best look comes from nail varnish and maybe some gel pens. I think with the pens it's a bit try it and see?
................
Readers Tip
One tip on the gel pens (if you’re going with that)~ instead of just coloring in the bricks, use a stippled method. Pounce the color on, leaving each dot apart from the rest by a little bit, then on the second round, fill in that gap. Makes them a bit textured, too, depending on the gel pen.
Thank you, Marcia Ricksgers
I've seen videos of people using large sheets of photographic paper, or the kind of paper that artists cut to make frame mats, used to make doll-sized tile floors, which aren't much different than what you're doing here. They are probably more expensive than tile floors, on the down side.
ReplyDeleteI meant those options are more expensive than foam core! Blogger is going so slowly right now, that by the time it loads a sentence, I forget what I wanted to say next.
DeleteThank you, yes there are so many ways of making tiles or brick effect's. This was a cheap and simple way with a 3D look. LOL and your second message I'm not sure if I'm slow like Blogger or forget what I'm saying these days.... I think a little of both! Stay safe and stay well
DeleteCut out bricks from egg cartons, paint, paint your "grout," glue the bricks
ReplyDeleteThank you, Great idea! I used this in my fireplace tutorial.
Delete